Sunday, May 27, 2012

1, 2, 3, FLOOR... Ice Fishing Rig, No More!

One of the bonus features of this camper is that the previous owner had planned to use it for ice fishing, and had cut four access holes in the floor!  Needless to say, I'm fixing it!


My plan is to patch the tin on the underside using the roof painting stuff I picked up.  I cut some patches that I hoped would fit all the holes.


First, cut away the floor.  Rear and front.  Clean it out.

This stuff is like Ice Cream!  Thick!  Messy!  But I applied it around the holes, placed my patches, reframed the openings, new insulation, and buttoned it up with new plywood.  Boy, cutting a straight line was apparently hard to do!


Saturday, May 19, 2012

While Some Doors Close...

Others remain open... like the one on the camper!  Here you can see how poorly fitted it is.  The wall is seemingly wavy on that side, and the door just isn't square in the jamb.

So I pulled it out to take a look.  There was a floor patch that was rotted again.  But the original rotted section of floor that is under the wall was never replaced.  So at this corner of the camper, I needed to replace the floor 12" wide from the wheelwell to the front.  The inner floor structure and lower wall framing was rotten too.


This is the first scary task I really have with the camper... how do I repair this section without completely tearing apart the camper?  My hope is that repairing the floor will help with squaring up the door.  I ended up replacing the rotten 2X2s in the subfloor with a 2X4 and new 2X2 ribs cut to the new length.  New insulation, new plywood... even cut new baseplates for the wall on either side of the door.  Not too bad.  The wall has a tendancy to sag a little when the crumbling structure is pulled away.  But because I was adding several layers in, I was sort of able to wedge the sandwich into place.  Something of note... today's lumber seems to be sized smaller than yesterday's.  So until I actually finish repairing the wall portion, it's a little (1/4"?) shorter than before.  Is the door straight?  Straighter.  But I think that I need to rebuild square framing... the door opening is roughly cut, and not even level with the roof line, right from the factory.  Oh, I have to drill the new wood for (and replace) the carriage bolts.  Right now, it's not secured, and the step isn't real sturdy.  Couple days... no big deal.  More pictures as I progress.  I actually have it roughed in.


Thursday, May 17, 2012

Toys for the Restoration

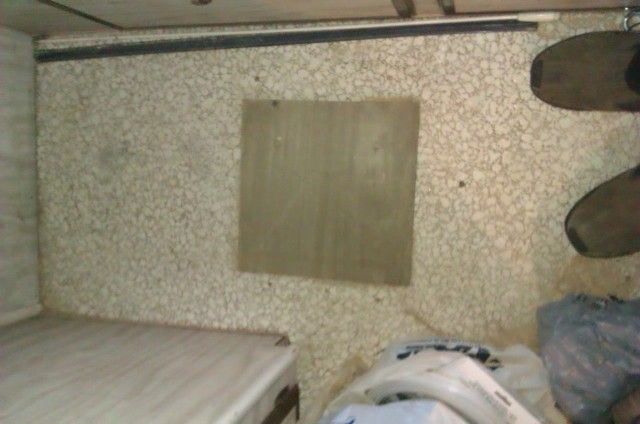
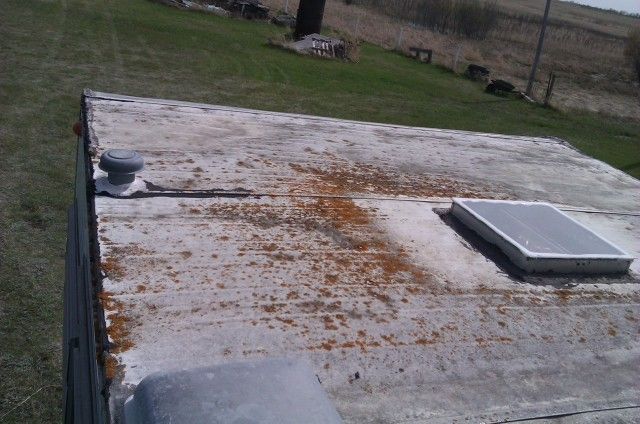
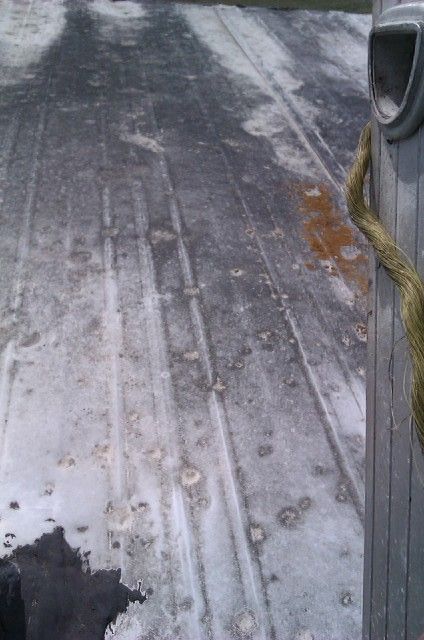
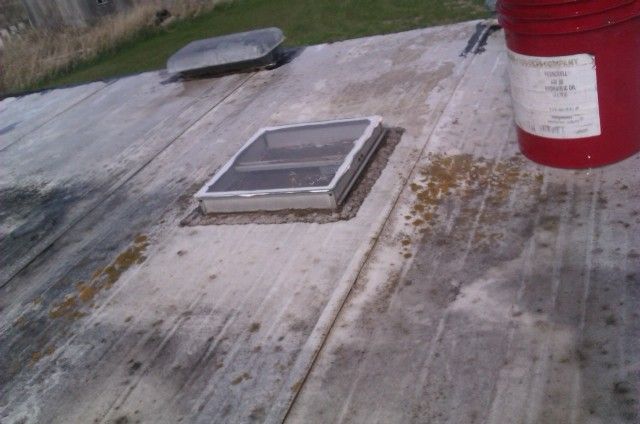
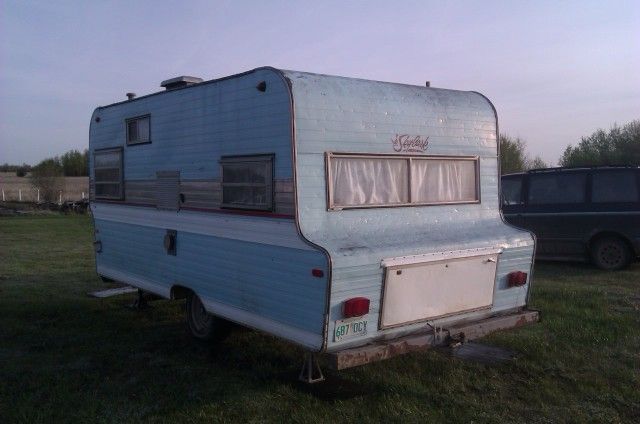
Now that the camper is clean, it's almost time to tear in!

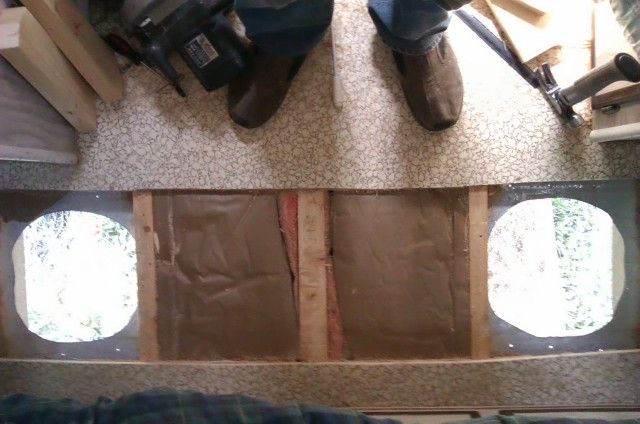
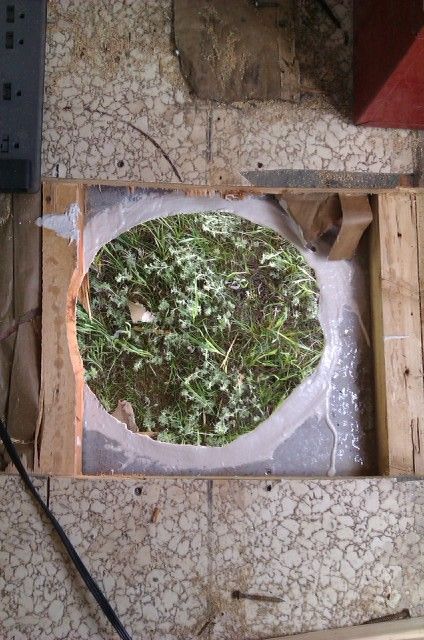
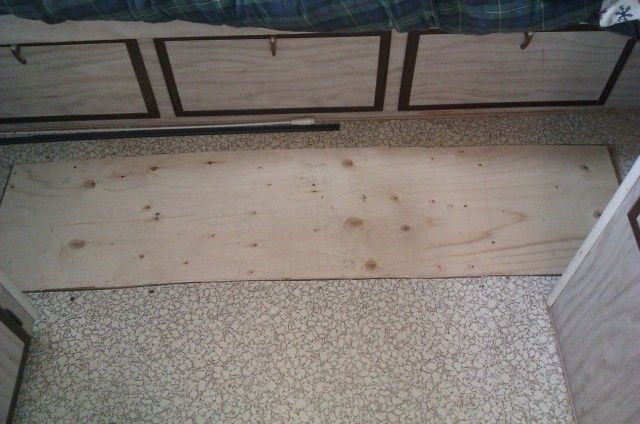
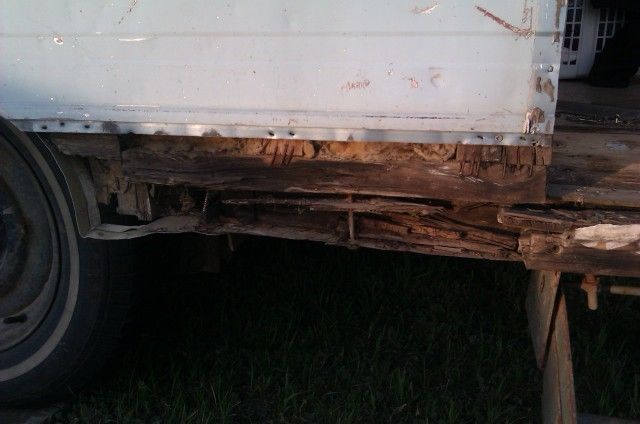
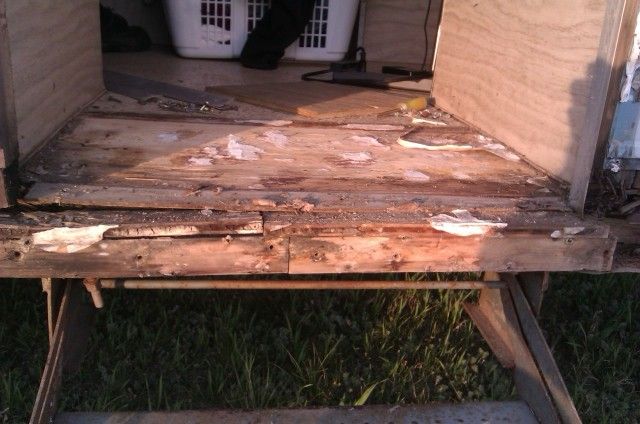
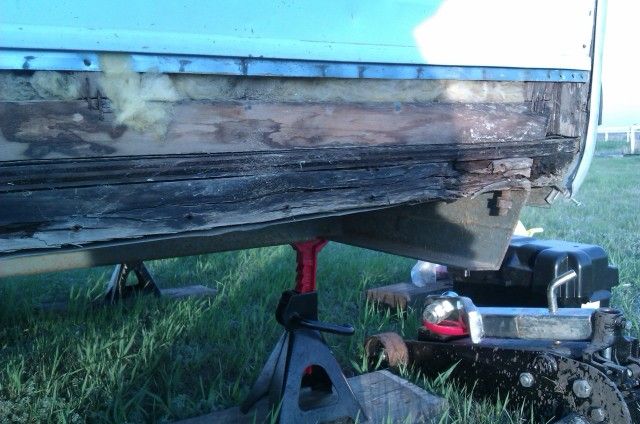
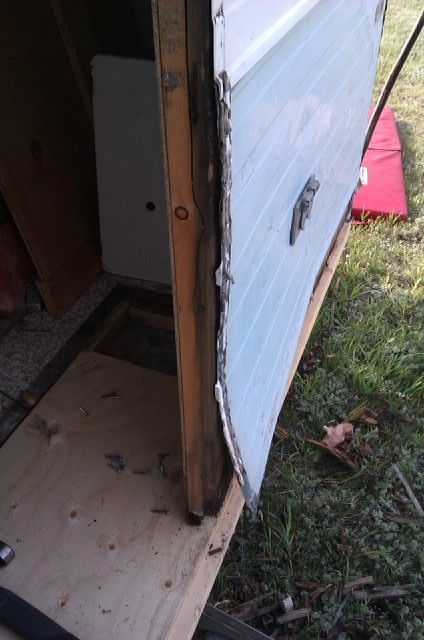
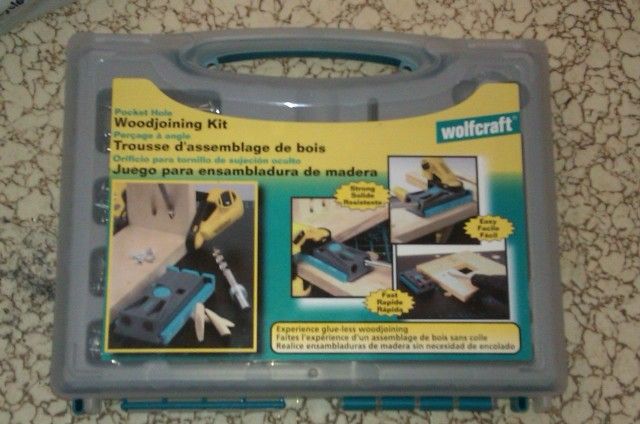
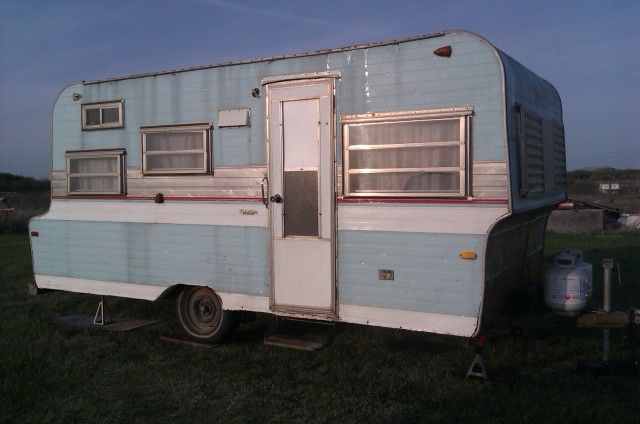
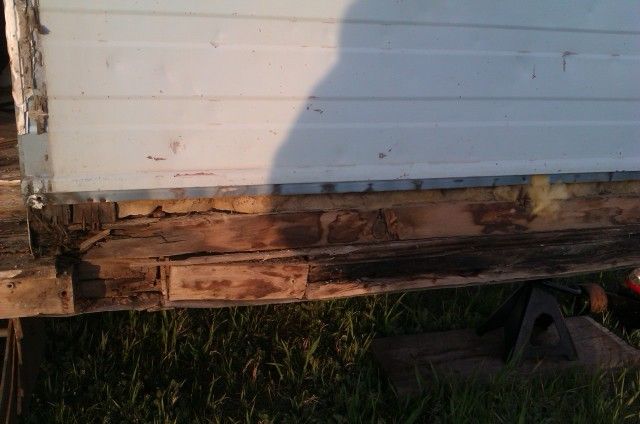
These campers are basically constructed out of 2X2's essentially stapled together, which I think is pretty flimsy.  Maybe not when new, and factories had the equipment for that kind of assembly.  Many restoration examples I have seen online have used a far superior joining method... hidden pocket joints like cabinet makers use.  I know there are some structural repairs I have to do, so I HAD to go buy a new tool (the sacrifices a guy has to make)!!!


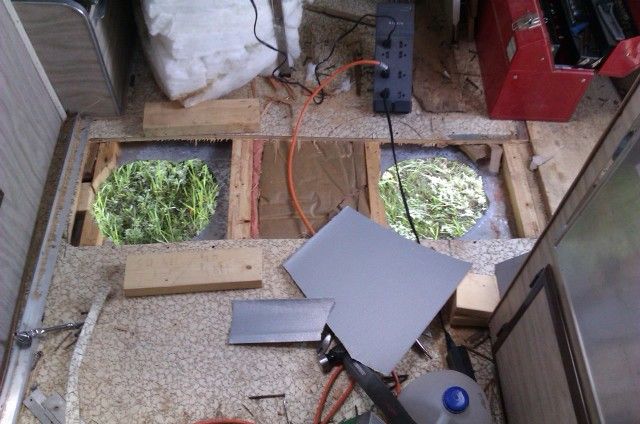
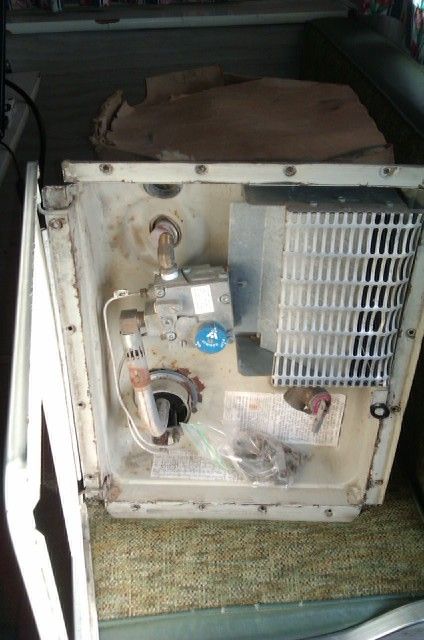
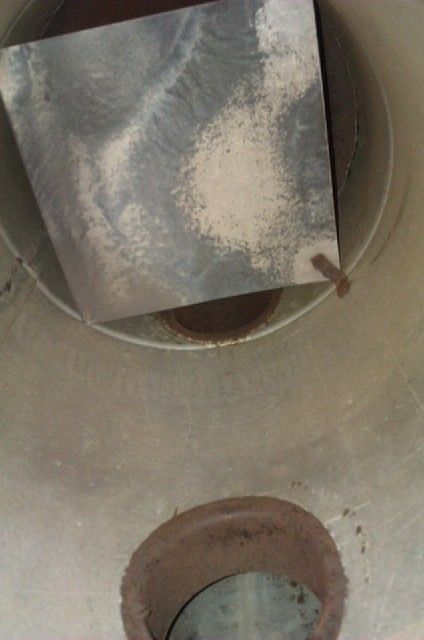
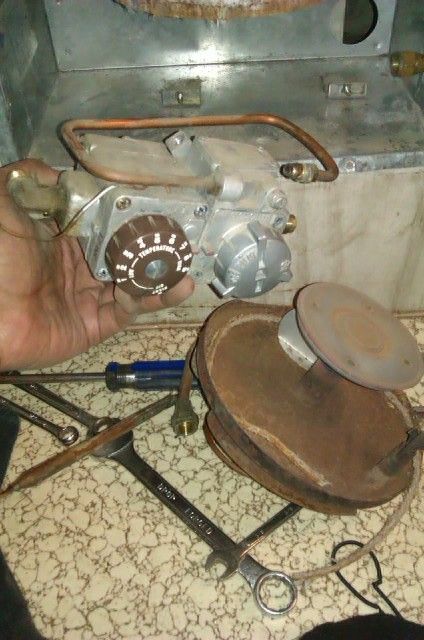
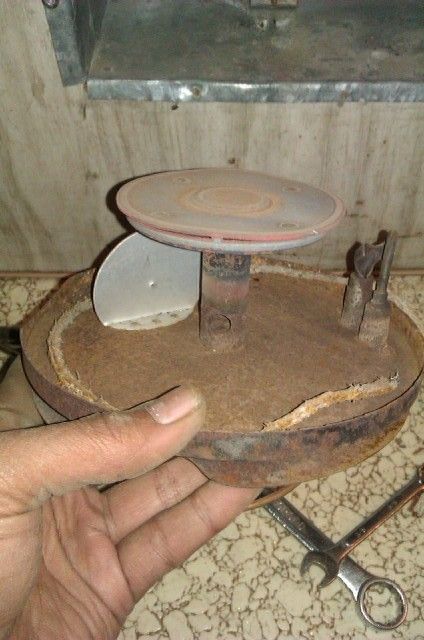
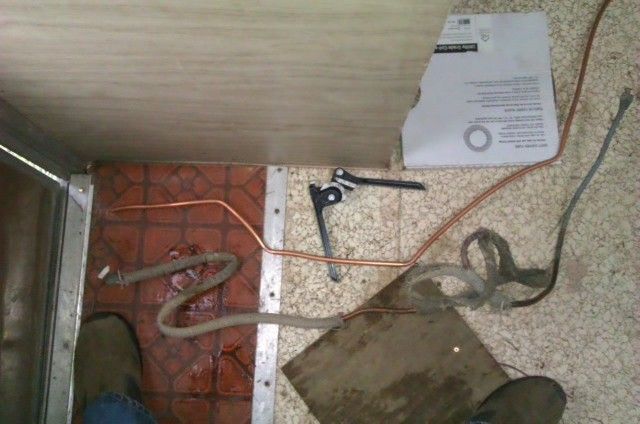
I plan to change the floor layout a bit, to add some storage and expand the bathroom a little so it has room for a shower fixture and drain.  But what good would a shower fixture be without hot water?  I picked up this used propane Atwood 6 Gal. hot water heater online locally.  I'd say the price was good... $100?  Haven't figured out where to mount it, but I'm thinking it will probably be under the sofa.

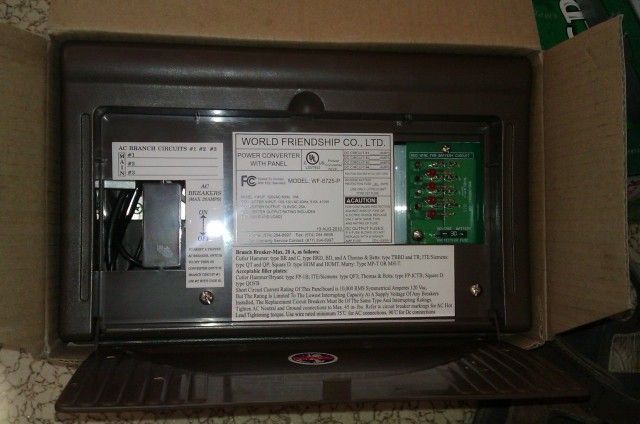
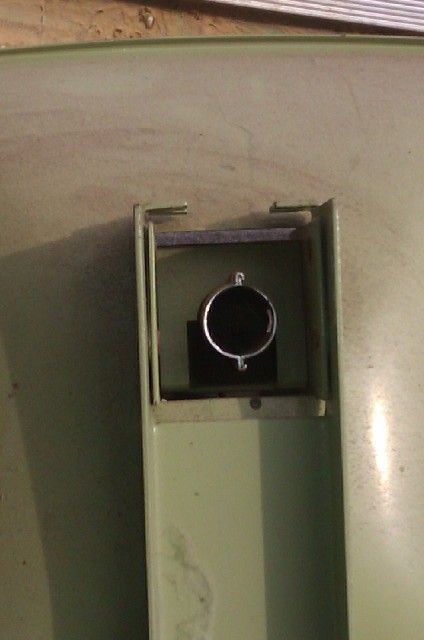
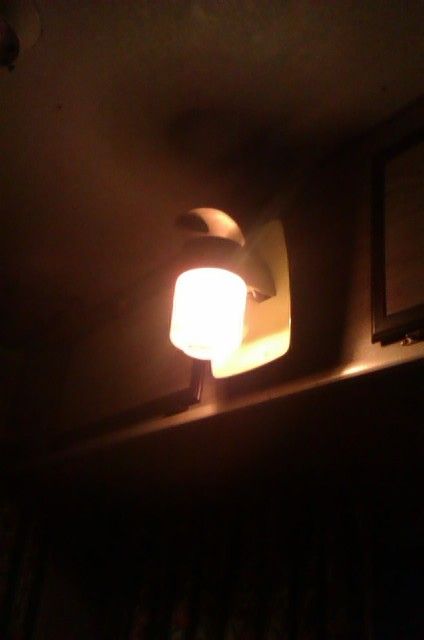
Also, the camper is not wired for 12V DC, and only has two AC plugs (and one is for the fridge while the other is outside).  The one that is in the camper is over the dinette, and I don't think that's the best place for a coffee maker or microwave.  Plus I don't think it's fun hitting my head on the AC light bulbs!  So I got a new WFCO ULTRA III 25A Power Centre (WF-8725P), one of the smaller and more affordable on the market.  It is a three-stage switching power supply that will fast charge, trickle charge and operate the 110V and 12V devices in the camper.  I can get rid of the old breaker panel hiding in the overhead kitchen cabinet, and control all my circuits from one place!  Oh, I guess I'm going to have to mount the deep cycle battery on the tongue too.  Got a few 110V receptacles, 12V lights, wire... lotsa stuff!

Saturday, May 12, 2012

Bath Time

I finally got the camper moved to higher ground today!

I have been eagerly wanting to tear in to some repairs of the body, and took the first step... the camper needed a bath desperately!  It was covered in what I believe was a black mold, as well as an orange flowery mold.  Also, the camper has survived a hail storm or two in it's time.  Dents on the roof seem to be where mold had settled in the most... where water had been able to puddle.

Armed with a ladder, a pail of dish soap and water, and the bottom of a stiff push broom, I spent the day on this.  What I found frustrating was that after scrubbing the roof, I needed to rinse it off before it dried out, otherwise this black stuff had a tendency to stick to the roof again.  It was pretty windy, and I could only reach a bit of the roof at a time... not fun (nor was scrubbing the roof twice).

Before:


During:


After:

Wednesday, May 9, 2012

Propane Repairs: The Furnace

It took a couple days to solve the furnace. I wanted to make sure the burner chamber was clean.

I had to:

1) disconnect the lines between the valve and the burner

2) unbolt the valve from the furnace housing and slide the assembly out

3) remove the wingnuts from the base of the burner chamber and drop it out


Because the orifice is right at the floor of the base, I found it was skinned over with a fine rust. A stripped sandwich bag tie actually cleared it out. It is important not to use anything that will scratch the orifice, but the twist tie in my opinion was very soft and required no force. A little compressed air and reassembly... a working furnace!

Propane Repairs: The Gas Lamp

I took the gas lamp down and disconnected the line and blew compressed air through, Of course, there was a cobweb in the back of the gas lamp.

After reconnecting it and burning in the new Coleman #21 mantle (oh, you have to do that??), it works wonderfully!

Propane Repairs: Kinky!

Over the next few days, I got on to the "Repairing Yesterdays Trailers" forum and scoured YouTube and other resources to figure this mess out.  Within a couple days, I learned enough to be dangerous!

First, I tackled the gas lines coming from the tanks and under the camper.  The obvious problem there was how badly kinked the line was... it had an extra couple feet on it, but instead of it being shortened, it was twisted like a pretzel!  Just like this!

As well, the flared nut was cracked.  So I figured that this was no problem... I've flared hard lines on my vans before, so I made a replacement line.