Sunday, May 27, 2012

1, 2, 3, FLOOR... Ice Fishing Rig, No More!

One of the bonus features of this camper is that the previous owner had planned to use it for ice fishing, and had cut four access holes in the floor!  Needless to say, I'm fixing it!


My plan is to patch the tin on the underside using the roof painting stuff I picked up.  I cut some patches that I hoped would fit all the holes.


First, cut away the floor.  Rear and front.  Clean it out.

This stuff is like Ice Cream!  Thick!  Messy!  But I applied it around the holes, placed my patches, reframed the openings, new insulation, and buttoned it up with new plywood.  Boy, cutting a straight line was apparently hard to do!


Saturday, May 19, 2012

While Some Doors Close...

Others remain open... like the one on the camper!  Here you can see how poorly fitted it is.  The wall is seemingly wavy on that side, and the door just isn't square in the jamb.

So I pulled it out to take a look.  There was a floor patch that was rotted again.  But the original rotted section of floor that is under the wall was never replaced.  So at this corner of the camper, I needed to replace the floor 12" wide from the wheelwell to the front.  The inner floor structure and lower wall framing was rotten too.


This is the first scary task I really have with the camper... how do I repair this section without completely tearing apart the camper?  My hope is that repairing the floor will help with squaring up the door.  I ended up replacing the rotten 2X2s in the subfloor with a 2X4 and new 2X2 ribs cut to the new length.  New insulation, new plywood... even cut new baseplates for the wall on either side of the door.  Not too bad.  The wall has a tendancy to sag a little when the crumbling structure is pulled away.  But because I was adding several layers in, I was sort of able to wedge the sandwich into place.  Something of note... today's lumber seems to be sized smaller than yesterday's.  So until I actually finish repairing the wall portion, it's a little (1/4"?) shorter than before.  Is the door straight?  Straighter.  But I think that I need to rebuild square framing... the door opening is roughly cut, and not even level with the roof line, right from the factory.  Oh, I have to drill the new wood for (and replace) the carriage bolts.  Right now, it's not secured, and the step isn't real sturdy.  Couple days... no big deal.  More pictures as I progress.  I actually have it roughed in.


Thursday, May 17, 2012

Toys for the Restoration

Now that the camper is clean, it's almost time to tear in!

These campers are basically constructed out of 2X2's essentially stapled together, which I think is pretty flimsy.  Maybe not when new, and factories had the equipment for that kind of assembly.  Many restoration examples I have seen online have used a far superior joining method... hidden pocket joints like cabinet makers use.  I know there are some structural repairs I have to do, so I HAD to go buy a new tool (the sacrifices a guy has to make)!!!


I plan to change the floor layout a bit, to add some storage and expand the bathroom a little so it has room for a shower fixture and drain.  But what good would a shower fixture be without hot water?  I picked up this used propane Atwood 6 Gal. hot water heater online locally.  I'd say the price was good... $100?  Haven't figured out where to mount it, but I'm thinking it will probably be under the sofa.

Also, the camper is not wired for 12V DC, and only has two AC plugs (and one is for the fridge while the other is outside).  The one that is in the camper is over the dinette, and I don't think that's the best place for a coffee maker or microwave.  Plus I don't think it's fun hitting my head on the AC light bulbs!  So I got a new WFCO ULTRA III 25A Power Centre (WF-8725P), one of the smaller and more affordable on the market.  It is a three-stage switching power supply that will fast charge, trickle charge and operate the 110V and 12V devices in the camper.  I can get rid of the old breaker panel hiding in the overhead kitchen cabinet, and control all my circuits from one place!  Oh, I guess I'm going to have to mount the deep cycle battery on the tongue too.  Got a few 110V receptacles, 12V lights, wire... lotsa stuff!

Saturday, May 12, 2012

Bath Time

I finally got the camper moved to higher ground today!

I have been eagerly wanting to tear in to some repairs of the body, and took the first step... the camper needed a bath desperately!  It was covered in what I believe was a black mold, as well as an orange flowery mold.  Also, the camper has survived a hail storm or two in it's time.  Dents on the roof seem to be where mold had settled in the most... where water had been able to puddle.

Armed with a ladder, a pail of dish soap and water, and the bottom of a stiff push broom, I spent the day on this.  What I found frustrating was that after scrubbing the roof, I needed to rinse it off before it dried out, otherwise this black stuff had a tendency to stick to the roof again.  It was pretty windy, and I could only reach a bit of the roof at a time... not fun (nor was scrubbing the roof twice).

Before:


During:


After:

Wednesday, May 9, 2012

Propane Repairs: The Furnace

It took a couple days to solve the furnace. I wanted to make sure the burner chamber was clean.

I had to:

1) disconnect the lines between the valve and the burner

2) unbolt the valve from the furnace housing and slide the assembly out

3) remove the wingnuts from the base of the burner chamber and drop it out


Because the orifice is right at the floor of the base, I found it was skinned over with a fine rust. A stripped sandwich bag tie actually cleared it out. It is important not to use anything that will scratch the orifice, but the twist tie in my opinion was very soft and required no force. A little compressed air and reassembly... a working furnace!

Propane Repairs: The Gas Lamp

I took the gas lamp down and disconnected the line and blew compressed air through, Of course, there was a cobweb in the back of the gas lamp.

After reconnecting it and burning in the new Coleman #21 mantle (oh, you have to do that??), it works wonderfully!

Propane Repairs: Kinky!

Over the next few days, I got on to the "Repairing Yesterdays Trailers" forum and scoured YouTube and other resources to figure this mess out.  Within a couple days, I learned enough to be dangerous!

First, I tackled the gas lines coming from the tanks and under the camper.  The obvious problem there was how badly kinked the line was... it had an extra couple feet on it, but instead of it being shortened, it was twisted like a pretzel!  Just like this!

As well, the flared nut was cracked.  So I figured that this was no problem... I've flared hard lines on my vans before, so I made a replacement line.

Saturday, May 5, 2012

I thought it was supposed to be "May flowers", not showers!

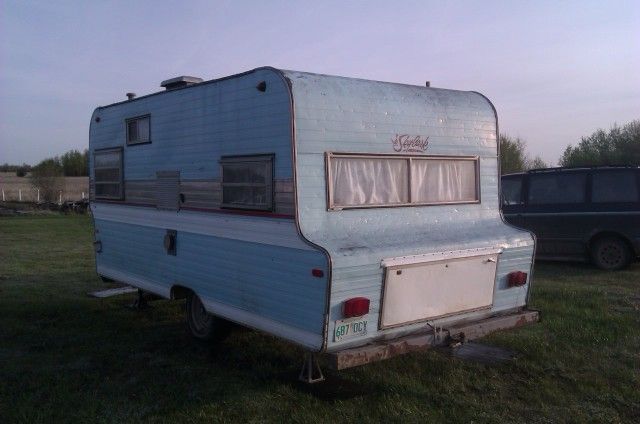
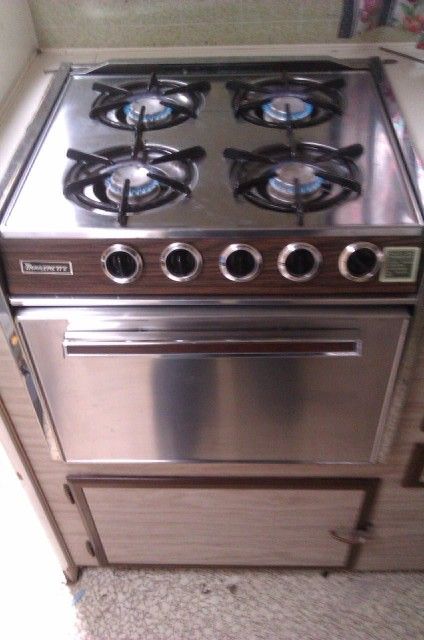
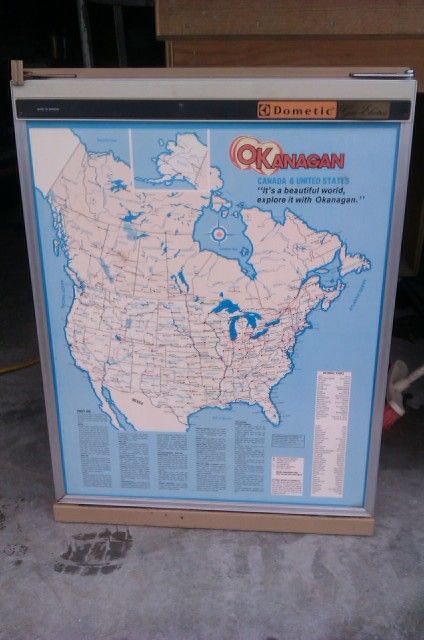
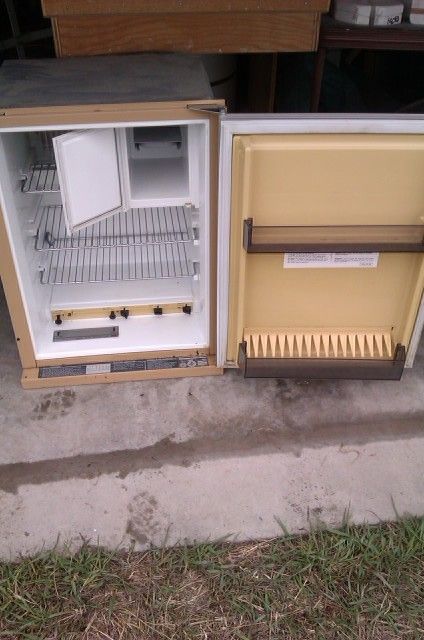
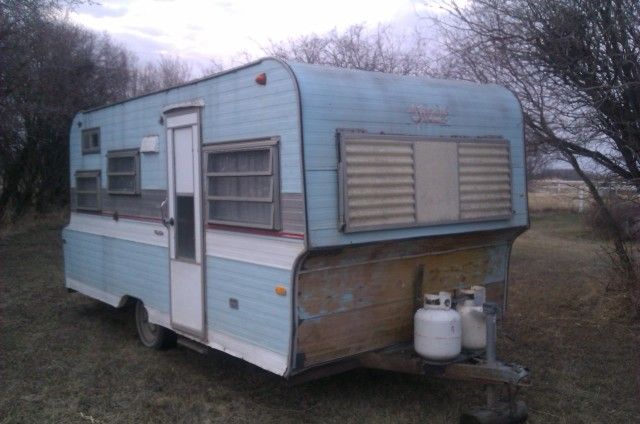
Planned a bunch of work on the camper, plus hoping to sell a bunch of appliances. 


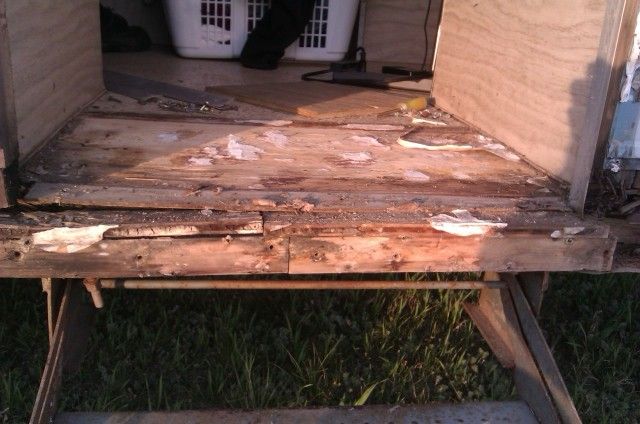
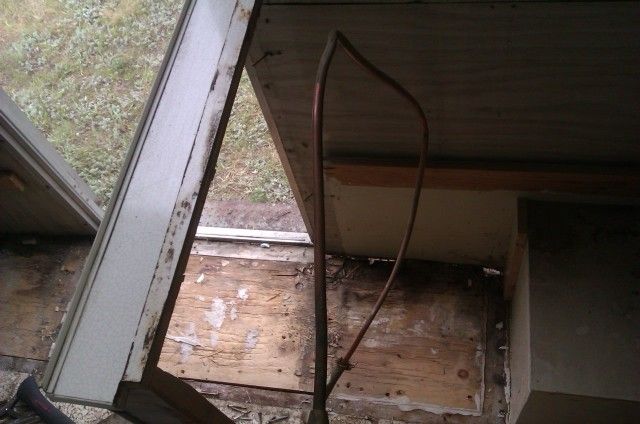
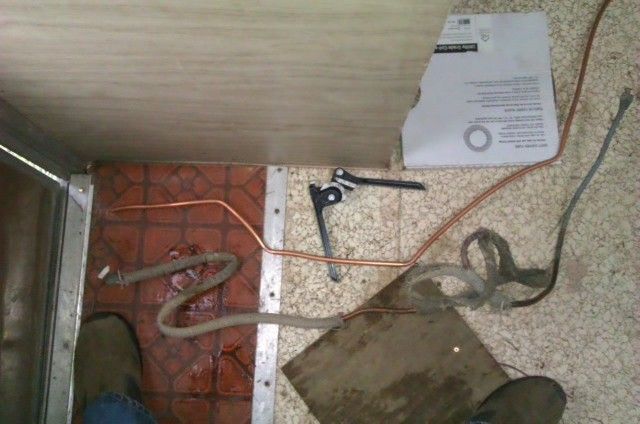
After replacing some copper tubing on the fresh water tank, decided to sanitize the tank.  After filling it with diluted bleach solution, priming the line to the sink and the toilet, realized "There is a bunch of water on the floor under the tank!  I better drain it and find out why!"

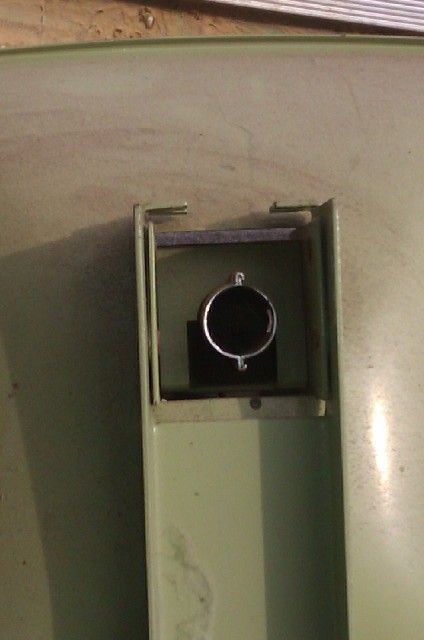
"Hmmm... where's the drain valve?  DOH!"

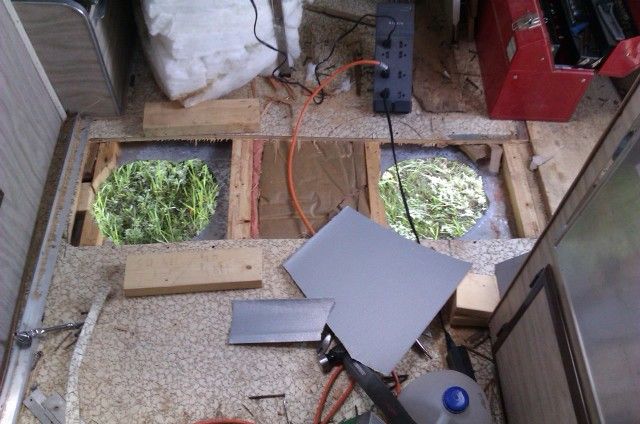
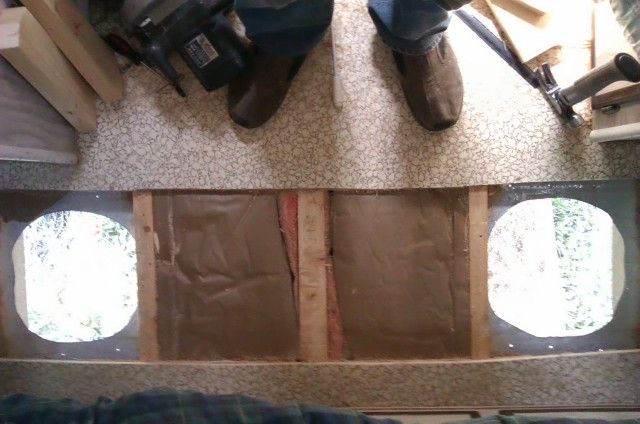
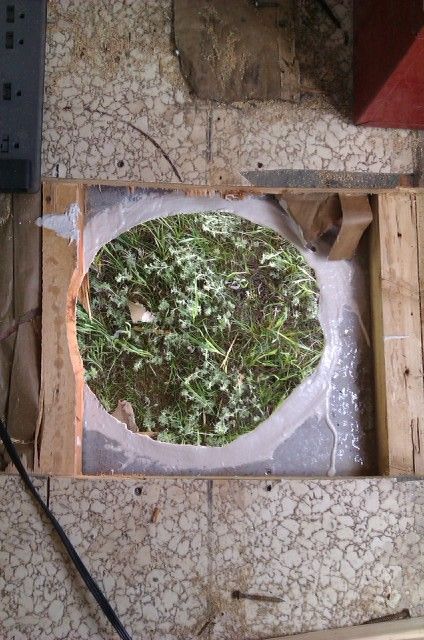
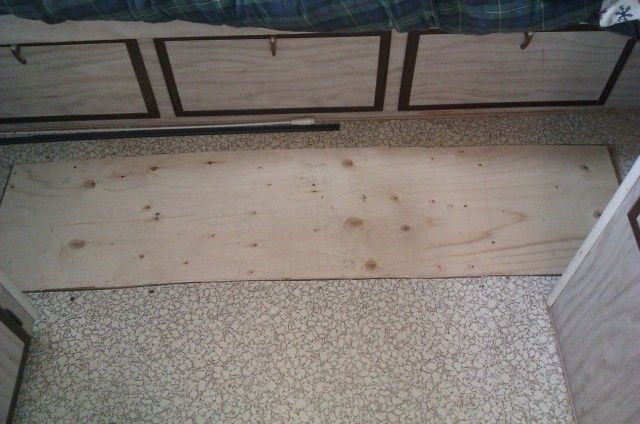
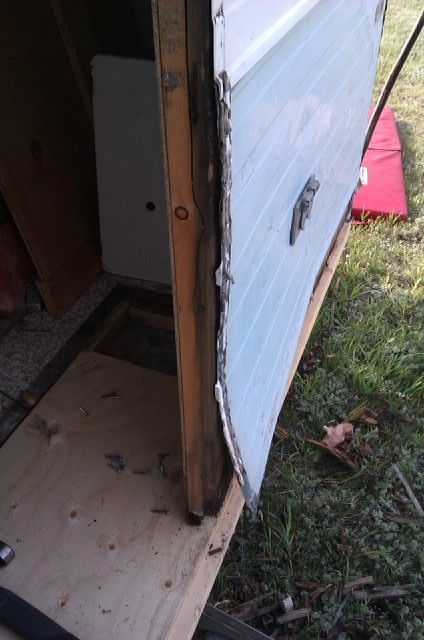
Luckily, there were a couple holes in the floor, and the line to the toilet was actually patched with rubber tubing that I could route through there.

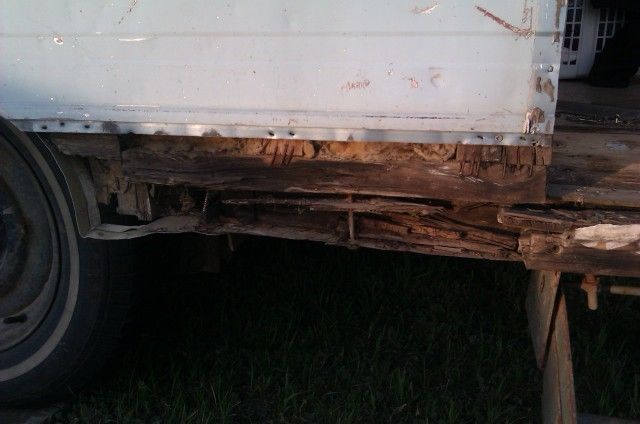
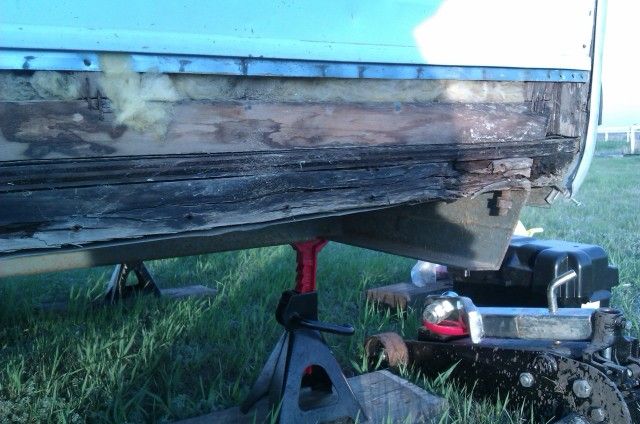
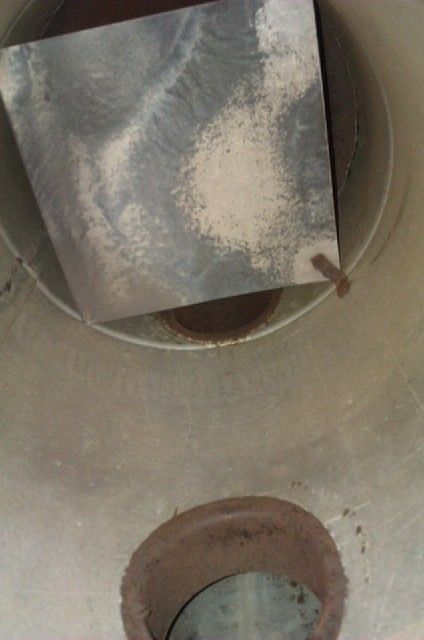
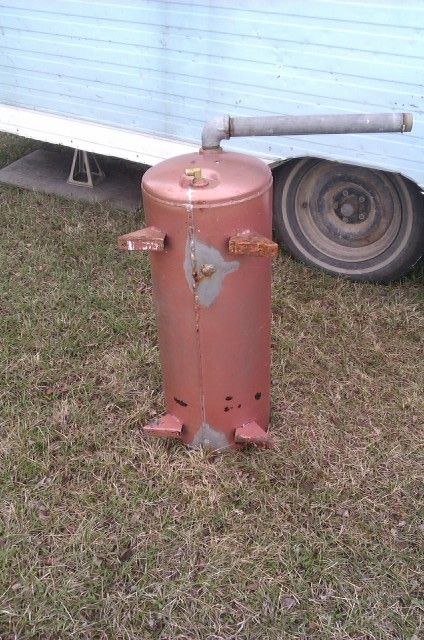
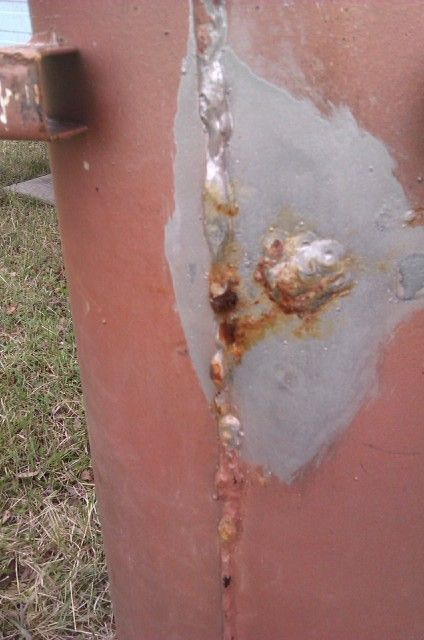
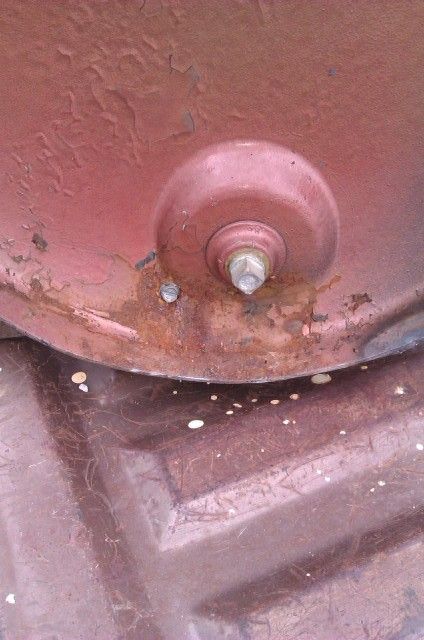
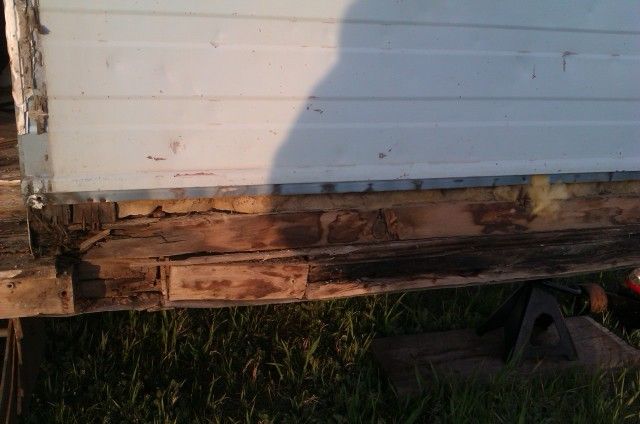
Anyway, my friend has tackled the leaky steel tank... the lower seam was bad in a few places.  As well, the outlet sits at least 2" above the bottom of the tank, meaning the system is prone to standing water remaining in the tank!


There was even a loose screw plugging a rustout on the back side of the tank... maybe the makeshift draincock?  I'm going to have to fix that!


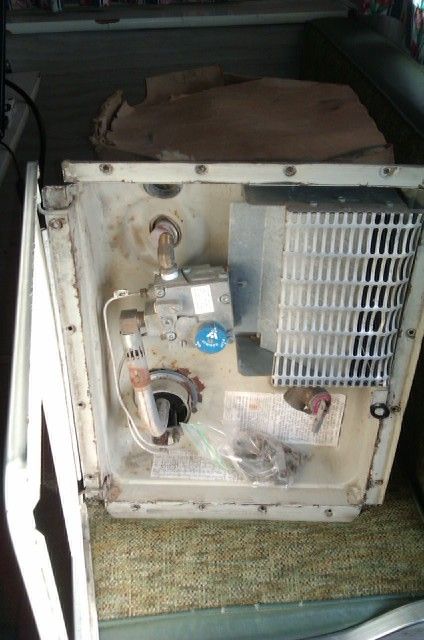
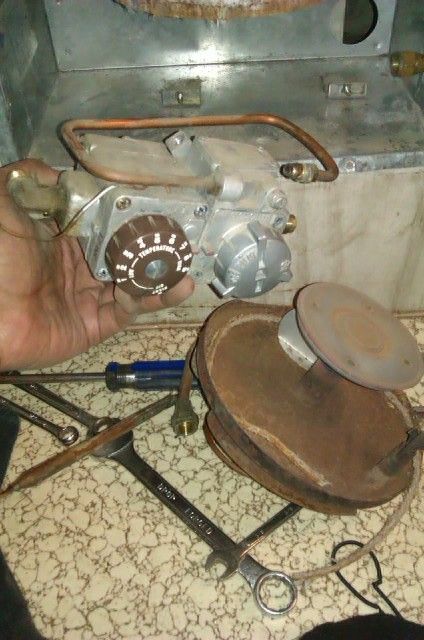
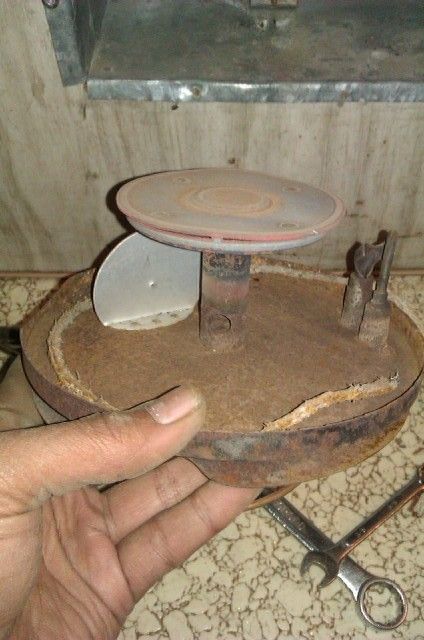
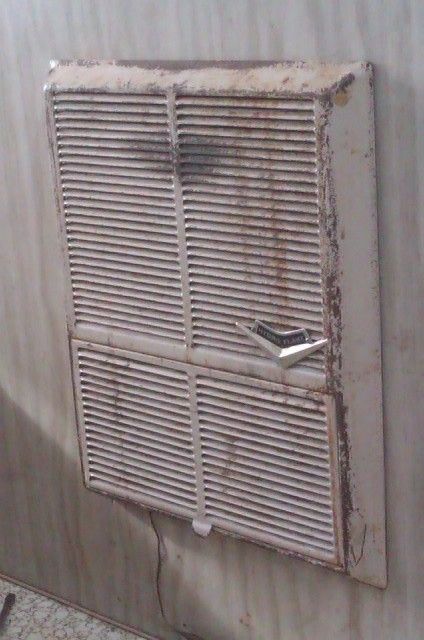
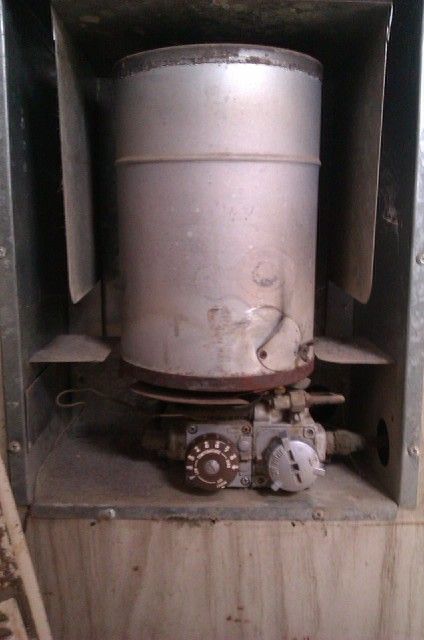
Anyway, on to the furnace...

We expected a lot of rain, and we got it!  Sunday morning, I was expecting Jim to come to town and ooh-and-aah over the fabulous working furnace!

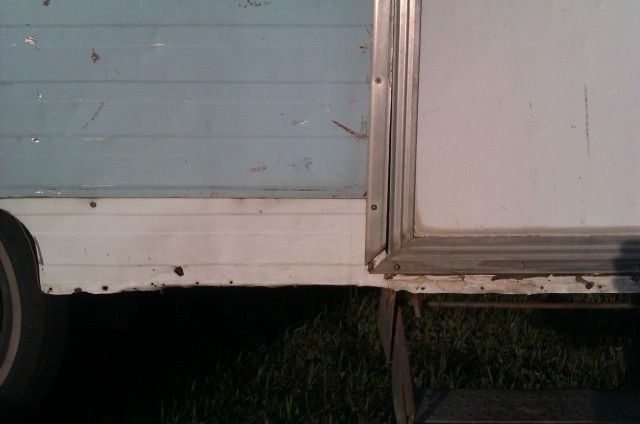
Wouldn't you know it that the storm we had blew out the pilot and formed whitecaps in the yard where the day before there was grass!  I thought "I'd better move the trailer around so that it's sheltered from the wind for the furnace to work, and so it's out of the water!"

Jim arrives in short order, and suggests a piece of plywood to lean up near the furnace vent... I'm soooo embarrassed!  What kind of a city slicker am I?  The worst kind I guess!

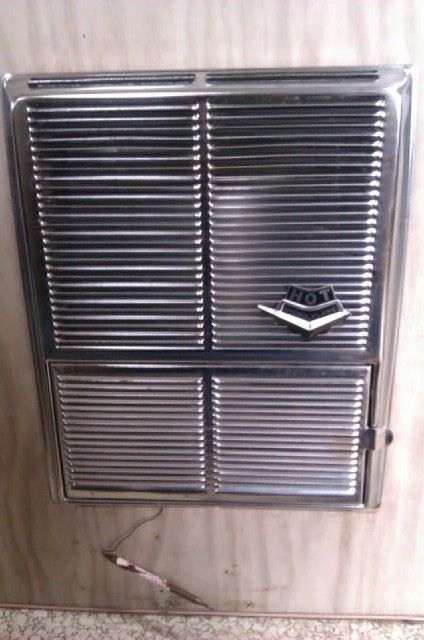
So as time goes by, and I run to the shop to get the vent / exhaust flange for Jim's furnace, he waits to make sure the furnace cycles as I promised it would.  Eventually we are both satisfied with closing the deal.

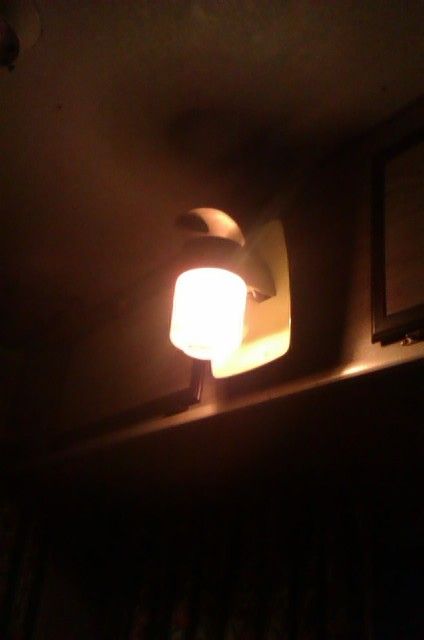
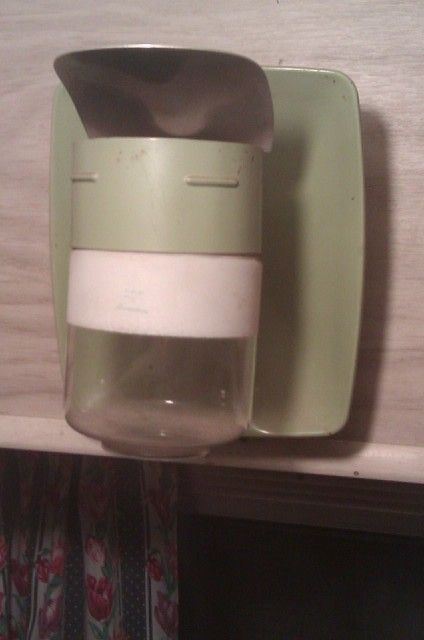
He also says "Flames arent supposed to come shooting out of the top of that gas lamp... I wouldn't burn it until you fix it.  Probably cobwebs in the lamp."  He gives me some info on websites for restoring vintage campers, and makes his way home.  The lamp is a Humphrey.


I'm wet and cold, and immediately proceed to reconnect my original furnace...


Ready to go... light it up... realize that I had only confirmed that the pilot light worked, when in fact the main burner NEVER cycled on!  I JUST SOLD THE ONE WORKING FURNACE I HAD ON A MISERABLE DAY!!!  Good grief!!!

Sunday, April 29, 2012

Parts Camper

I found a 70's truck camper, severely rotted and water damaged, with clean appliances and hydraulic camper jacks for $100... can't go wrong, right?  Again... seller seemed like a good honest man.

In the process of evaluating those appliances, I learned how to work the ovens and furnace pilots... so now I had extra stuff!  Maybe there will be other useful parts from the truck camper, but I should be able to recover my expenses by selling the appliances I don't need, right?


The four-burner stove / oven, which has a matching fume hood...


The old Hydro Flame furnace, which looks virtually identical to my original, but a little newer... I've since learned that this model of furnace was popular because of the exterior fresh air and exhaust venting, as well as the lack of a blower fan... quieter. 


I left these installed in my camper so I could readily demonstrate they were working.  When I sell them, I'll just swap in my originals.  Good idea, right?


Then there is the 3-way Dometic refridgerator... I plugged it in at my buddy's shop, and it works great!

So if I sell all these things, it should pay for both campers and some renos!

Sunday, April 22, 2012

Is This Thing On?

So I figured on taking stock of all the appliances, electrical and plumbing... decided I had better figure out what worked and what didn't.

  1. Running 12V electrical... very old, dim, poorly grounded, but worked enough to get me home.  Should replace wiring to the running gear and update the flat-4 plug.
  2. Cabin 12V electrical... there is none!  Well, there is one light fixture that may be wired into the running light circuit.  This means too that IF the fridge is a 3-way fridge, it's not wired for DC.
  3. 110V AC electrical... it has a 30 amp socket, but the RV cord is wired to a household 15 amp plug, not original.  Would like to replace it.  Socket is in rusty condition, but works.  Circuit panel up above the fridge, four AC ceiling lights and one receptacle over the dinette (two if you count the refridgerator plug).  Upgrade plans include installing a converter, DC lighting and GFCI AC receptacles.  I had already bought a 12V Deep Cycle Marine battery, expecting the camper to need a replacement, but it needs to be wired in.
  4. For propane, I was able to figure out the fridge and stove top.  But furnace and oven pilots were a mystery.  Gas lamp needed a mantle as well (that's what those things are called?) I feared I would need to replace appliances.  As well, the copper lines under the camper were quite badly kinked and twisted... I have no idea who did that, but I will guess that a previous owner bought a length of flared copper tubing and twisted it around rather than cutting it to the proper length.  But if it works...
  5. Plumbing... fresh water tank was disconnected, and camper has no grey tank.  Black tank is above-floor type, and I hit my head on the 110V light in there (I'm so getting rid of that!),  So I planned to replumb the water supply, and dream of under-floor grey and black water tanks!  Oh, might as well add a hot and cold shower to the wish list while I'm at it!

Thursday, April 12, 2012

In Search of a Camper Trailer...

After looking at several camper trailer projects for less than $1000, I decided to go on a road trip... ready to scour the province from morning thru night for a camper trailer that appealed to me.  Searching online, I had already missed out on three locally, so I needed to be aggressive!


After a couple hours drive, I found this 1969 Skylark camper trailer.  Dirty on the surface, some structural wear (though the owner said it didn't leak), but a pretty clean interior with fridge, stove, furnace and toilet.  Oh, a custom "feature"... four ice fishing holes cut into the floor!  I could see that there was previous water damage on the ceiling panels and the door.  There was no propane in the tanks, and it wasn't plugged in to AC current, stored in a dark quanset, so I had to take his word that all the appliances worked.  Honestly, I couldn't tell how bad it was, but it did look pretty good.


So after a bit of negotiation, I was the proud new owner for less than $700.  Let the adventure begin!